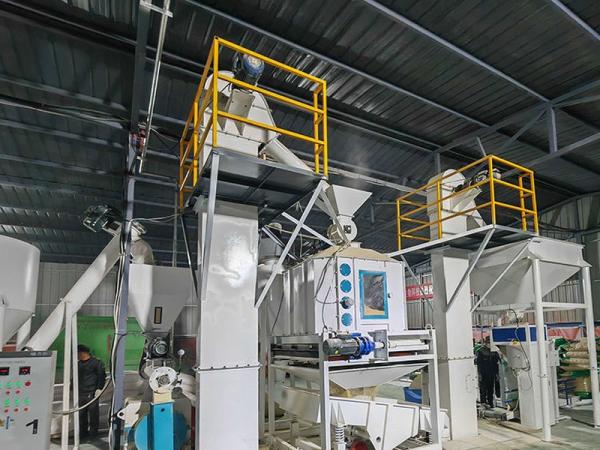
Buying a single pellet mill is the easy part. Making feed that is consistent, hygienic and cheap to produce, day after day, is a systems problem — and that is exactly what a feed pellet production line solves. A complete line links cleaning, grinding, batching, mixing, conditioning, pelleting, cooling, screening and packing into one continuous flow, so that raw grain entering at one end becomes bagged pellets leaving at the other. This article explains what each stage of the line actually does, which design decisions determine whether it works well, and how to judge a line before you invest in it.
Why a complete line beats a stand-alone mill
A farm that owns only a pellet machine usually discovers the same three problems. First, particle size is uncontrolled: material ground in a hammer mill with worn screens produces a mix of fine powder and coarse chunks, and coarse chunks make weak pellets. Second, the formula is inconsistent, because ingredients are measured by shovel rather than by scale, so nutrient content drifts from batch to batch. Third, hot, soft pellets straight from the die are packed too early, trap moisture, and mould in storage.
A production line fixes all three by design. Grinding is sized deliberately, batching is weighed, pellets are conditioned before pressing and cooled after it, and fines are screened out before packing. The result is a product with stable composition, high durability and a predictable shelf life — the qualities that make feed sellable rather than merely edible.
The process flow, stage by stage
1. Raw material receiving and cleaning
Grain arrives with stones, sand, string, metal fragments and other debris. A receiving pit or hopper feeds a conveyor into a pre-cleaner, usually a drum or vibratory sieve combined with a magnetic separator. This stage protects every machine downstream: stones damage hammer mill screens, and metal destroys dies. Capacity here should be generous, because unloading is bursty — a truck arrives all at once — while the rest of the line runs continuously.
2. Grinding
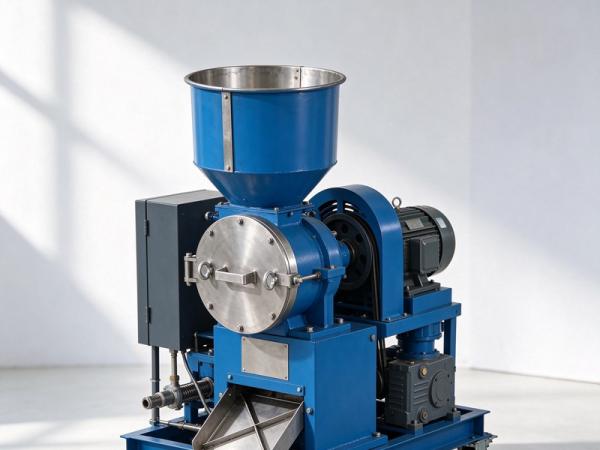
A hammer mill reduces maize, soybean meal, wheat bran and other ingredients to the target particle size. Screen hole size controls fineness, and fineness is a trade-off: finer grinding produces stronger pellets and better digestion but consumes more energy per ton and lowers mill throughput. Most feed lines work best with a moderate, consistent grind plus a well-maintained screen. Check that the mill has an aspiration system, because removing dust from the grinding chamber increases capacity and keeps the workshop breathable.
3. Batching and mixing
This is where recipe accuracy is won or lost. Batching hoppers, each with a screw discharger and load cells, weigh major ingredients in sequence; micro-ingredients such as vitamins, minerals and premix are weighed separately on a small high-accuracy scale. A ribbon or paddle mixer then blends the batch to homogeneity. Two details decide quality: weighing accuracy at the low end of the range, and adequate mixing time with a correct fill level — an overfilled mixer cannot blend properly no matter how long it runs. Look for a batching system that stores formulas and produces a printed or logged record per batch.
4. Conditioning before pelleting
Dry mash does not pellet well. A conditioner injects controlled water and, where a steam supply exists, low-pressure saturated steam, raising the mash temperature and moisture. This softens starch, lubricates the die, raises pellet durability, and cuts electricity consumption per ton. For higher-grade feed, a double-pass conditioner or a retention conditioner gives more dwell time and better cook. If a boiler is part of the project, size it together with the line rather than adding it later.
5. Pelleting
The conditioned mash enters the ring die, is pressed through the holes by rotating rollers, and is cut to length by adjustable knives. Output depends on die diameter and thickness, motor power, steam quality and material properties, so rated capacities should be treated as ceilings rather than everyday expectations. A well-specified line has a die that can be changed for different products, rollers that can be adjusted without dismantling the chamber, and a feeder that can be tuned to the die's real capacity instead of forcing material through it.
6. Cooling
Pellets leave the die at around 70–90 °C and with high moisture. A counter-flow cooler brings them down close to ambient temperature using ambient air, which both firms up the pellet and prevents condensation inside bags. Cooler retention time must match output: too short and pellets remain soft and sticky, too long and the cooler becomes a bottleneck. A cooler sized for the line's peak capacity is one of the most commonly underestimated items in a new project.
7. Screening, crumbling and rework
A vibratory screener separates finished pellets from fines and oversize material. Fines are normally returned to the pelleting stage, which recovers value instead of selling dust. If the product range includes crumble for young chicks or starter feed, a crumbler with adjustable roll gap is added between cooler and screener. Screen mesh and crumbler gap are simple settings, but they determine what the customer sees in the bag.
8. Packing and weighing
Finished pellets pass a weigher and are packed into 5, 25 or 50 kg bags, then closed by sewing or heat sealing. Automatic bagging raises throughput and improves weight consistency, while manual bagging is cheaper at low volumes. Do not forget the buffer silo before the packer: without it, every bag change stops the mill, and every restart produces off-spec pellets.
9. Dust collection and housekeeping
Every transfer point — receiving, grinding, mixing, cooling, screening and packing — generates dust. A properly designed aspiration network with cyclone or bag filters protects operators, reduces fire and explosion risk, and keeps the workshop clean enough to be inspected. Dust systems are frequently the first item cut from a budget and the first item to cause trouble later, so insist on a real layout with calculated air volumes rather than a token fan.
Layout and configuration: the decisions that shape the project
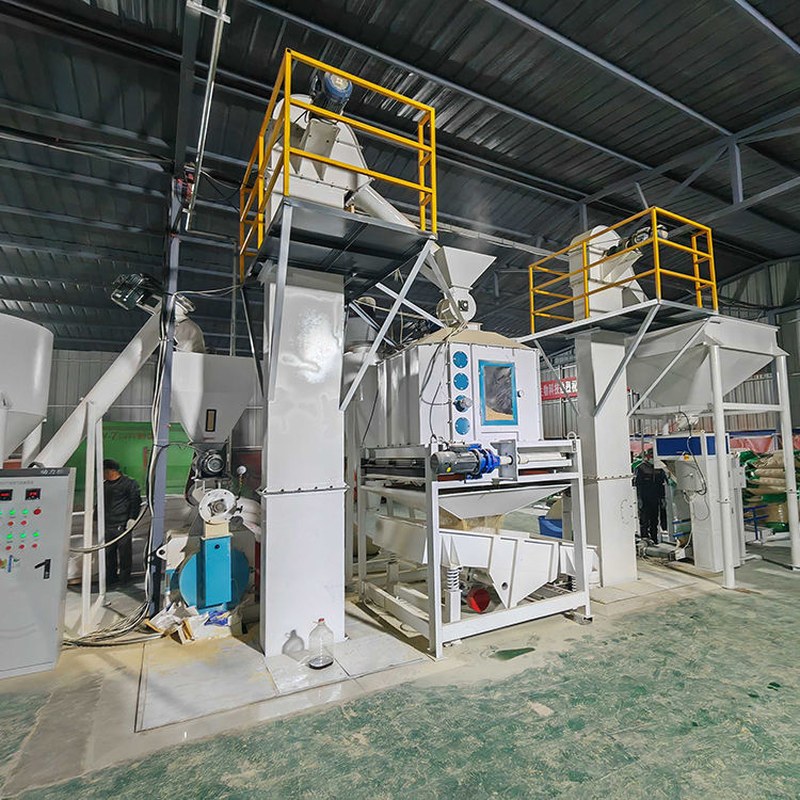
Tower versus flat layout. A tower design uses gravity to move material down through the stages and needs less conveying equipment, but requires a taller steel structure and higher civil works. A flat-layout line uses conveyors and elevators and is easier to build on an existing slab. Tower layouts generally run more smoothly at higher capacities; flat layouts suit smaller farms and retrofit sites.
Capacity matching. Each stage must match the pelleting stage, or the line's real output is set by its slowest machine. A common mistake is buying a mill sized for the target output while undersizing the cooler, the screener or the packer. Ask the supplier for a stage-by-stage capacity table, not a single headline figure.
Automation level. Manual, semi-automatic and fully automatic control are all valid choices at different scales. What matters is that the control panel shows motor currents, temperatures, bin levels and alarms in one place, and that the batching system keeps formula records. Fully automatic lines are worth the money mainly when labour is scarce or when daily output is large enough to justify the investment.
Power supply. Motor voltages, frequencies and phase must match the local grid exactly — a mismatch shows up as low output, overheating or refusal to start. Where the grid is unstable, plan for a stabiliser or a generator, and confirm the starting method for the largest motor.
Maintenance access. Dies, rollers, hammers, screens and bearings wear. Walk the layout mentally: can a technician reach the die chamber, change a hammer mill screen, and clean the cooler without disassembling half the plant? Access platforms, hoists and spare-part storage are cheap at the design stage and expensive later.
From order to production
A line is a project, not a purchase. The realistic sequence is: raw material and formula study, capacity definition, layout drawing, steel structure and civil works, equipment manufacture, shipping, installation, commissioning, operator training, and then a stabilization period during which settings are tuned to your actual materials. Build the schedule with margin for civil works and shipping, and confirm who supplies what — power cabling, steam piping, compressed air, and the steel structure itself are frequently left ambiguous between buyer and supplier.
Conclusion
A feed pellet production line is worth its cost when every stage is sized for the stage after it and when the design matches your raw materials, your power supply and your labour reality. The functions to insist on are accurate batching, controllable grinding, real conditioning, a die and roller set you can change and adjust, a cooler that keeps up, effective screening and a dust system that actually works. Get the flow right and the line becomes a quiet, profitable asset; get one stage wrong and it becomes the bottleneck you fight for years.
If you are planning a line, send us your target output per hour, your main raw materials and formula outline, local voltage and frequency, and whether steam is available. We will propose a stage-by-stage configuration with the corresponding layout drawing.